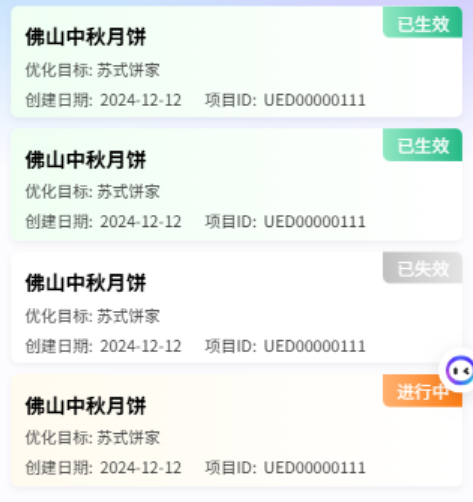
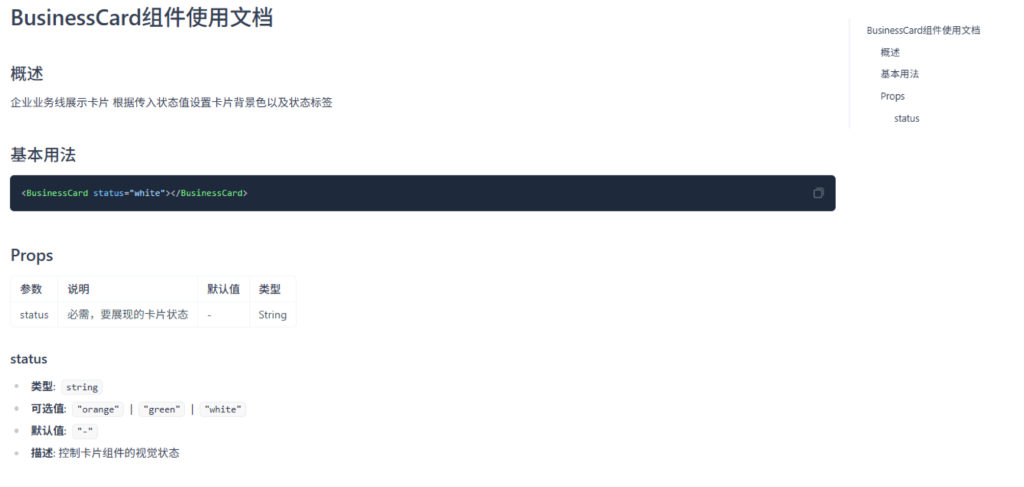
1.也是算封装了一个像样的组件BusinessCard
通过status状态来设置card的背景和右上角标签
(1) 写好样式
(2) 设置动态类
(3) 接收父组件传来状态值defineProps
(4) computed计算属性处理,拼接类名……
代码如下 精华点就上面4个
<template>
<view class="cardArea" :class="[card_status]">
<view class="business_name">
佛山中秋月饼
</view>
<view class="business_target">
优化目标: 苏式饼家
</view>
<view class="business_date_id">
<view class="business_date">
创建日期: 2024-12-12
</view>
<view class="business_id">
项目ID: UED00000111
</view>
</view>
<view class="business_status" :class="`status_${props.status}`">
{{ obj[props.status] }}
</view>
</view>
</template>
<script setup>
import {
computed,
reactive,
ref
} from 'vue';
const props = defineProps({
status: String
})
const card_status = computed(() => `bg-${props.status}`)
// const card_status_corner = computed(() => `status_${props.status}`)
// const status_text = ref('')
const obj = reactive({
'white': "已失效",
'green': '已生效',
'orange': '进行中'
})
</script>
<style lang="scss" scoped>
/*动态类*/
.bg-green {
background: linear-gradient(90deg, #EFFFF2 0%, #FFFFFF 100%);
box-shadow: 0rpx 4rpx 10rpx 0rpx rgba(0, 0, 0, 0.05);
}
.bg-orange {
background: linear-gradient(90deg, #FFFBEF 0%, #FFFFFF 100%);
box-shadow: 0rpx 4rpx 10rpx 0rpx rgba(0, 0, 0, 0.05);
}
.bg-white {
background: #FFFFFF;
box-shadow: 0rpx 4rpx 10rpx 0rpx rgba(0, 0, 0, 0.05);
}
.status_green {
background: linear-gradient(to right, #90e8c3, #26b987);
background-size: cover;
border-bottom-left-radius: 10rpx;
}
.status_orange {
background: linear-gradient(to right, #ffb070, #ff7d13);
background-size: cover;
border-bottom-left-radius: 10rpx;
}
.status_white {
background: linear-gradient(to right, #c1c1c1, #e4e4e4);
background-size: cover;
border-bottom-left-radius: 10rpx;
}
/*动态类*/
/*基本样式*/
.cardArea {
width: 100%;
height: 154rpx;
border-radius: 10rpx;
padding-left: 20rpx;
display: flex;
flex-direction: column;
gap: 8rpx;
padding-top: 20rpx;
margin-bottom: 16rpx;
position: relative;
overflow: hidden;
.business_status {
top: 0;
right: 0;
position: absolute;
width: 110rpx;
height: 44rpx;
color: #fff;
display: flex;
align-items: center;
justify-content: center;
font-size: 24rpx;
}
.business_name {
font-weight: bold;
font-size: 28rpx;
color: #000000;
text-align: left;
font-style: normal;
text-transform: none;
}
.business_target {
font-weight: 400;
font-size: 22rpx;
color: #454545;
text-align: left;
font-style: normal;
text-transform: none;
}
.business_date_id {
display: flex;
font-weight: 400;
font-size: 22rpx;
color: #454545;
text-align: left;
font-style: normal;
text-transform: none;
.business_date {
margin-right: 32rpx;
}
}
}
/*基本样式*/
</style>也是装模作样写上组件文档了
2.父组件给子组件渲染数据时如果数据字段比较多 直接传递对象就可以了 (我怎么就没想到呢)
传入对象语法和传值不太一样
const props = defineProps({
	// companyName: String,
	// orderIcon: String,
	// orderName: String,
	// id: Number,
	//传入对象
	exampleCard: {
		type: Object,
		default: () => ({})
	}
})
//解构出exampleCard并重命名为data
const {
	exampleCard: data
} = props
模版中直接data.image …就能用了 不用搞那么多字段
<ExampleCard v-for="item,index in orderList" :key="index" :exampleCard="item"></ExampleCard>之前绑了太多字段 太过繁冗
3.使用Pinia存储轮播图信息
轮播图在首页, AIRO查询等多个页面都要使用 所以我想在首页获取之后就将其存储在Pinia中 这样其他页面就可以通过Pinia直接获取轮播图信息了 我们来看看Pinia使用步骤
(1) 下载安装
(2) main.js中实例化 并应用
import {
	createPinia
} from 'pinia'

export function createApp() {
	const app = createSSRApp(App)
	//实例化Pinia
	const pinia = createPinia()
	//持久化
	pinia.use(piniaPluginPersistedstate)
	//传递给项目应用
	app.use(pinia)
	return {
		app
	}
}
(3) 新建store目录 在此目录下新建对应模块的仓库
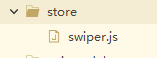
(4) swiper.js中写好要全局存储的数据,方法 记得return导出!
// stores/swiper.js
import {
	defineStore
} from 'pinia';
import {
	ref
} from 'vue';
import {
	apiGetHomeData
} from '../api/api';
export const useSwiperStore = defineStore('swiper', () => {
	const swiperData = ref([]); // 存储轮播图数据
	// 获取轮播图数据的方法
	const fetchSwiperData = async () => {
		const response = await apiGetHomeData()
		swiperData.value = response.banner;
	};
	//return导出数据
	return {
		swiperData,
		fetchSwiperData
	};
});
(5) 在需要使用的地方导入并实例化仓库
import {
	useSwiperStore
} from '../../store/swiper';

const swiperStore = useSwiperStore()

onLoad(() => {
	swiperStore.fetchSwiperData()
})
(6) 安装了Vue DevTools的话就可以看到仓库信息了

极度舒适…… 比过苏轼……
4.实现根据id查询案例详情
(1) navigateTo 时url携带id参数
<navigator :url="'/pages/example_detail/example_detail?id='+data.id">(2) 在详情页通过onLoad获取页面参数信息 并根据id发起请求
onLoad(async (e) => {
	caseId.value = e.id
	let res = await apiGetExampleDetail({
		caseId: caseId.value
	})
	params.value = res
	//解构赋值 这个data是传给子组件DetailExampleCard的只需要四个属性 解构一下就行了
	data.value = {
		companyName: res.companyName,
		orderName: res.orderName,
		projectName: res.projectName,
		image: res.image
	};
})
(3) 页面渲染即可
5.数据异步加载问题
<DetailExampleCard :data="data"></DetailExampleCard>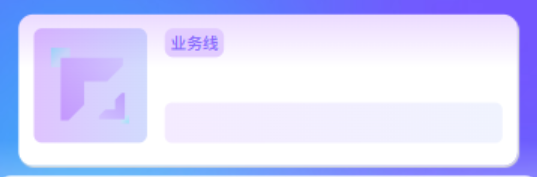
请求已经发送了 但是没有数据渲染
原因 : onLoad 中异步获取数据并赋值给 data.value,但子组件可能在数据加载完成前就已经渲染
在子组件中添加条件渲染就行了 只有在已经获取到data之后再渲染组件
<DetailExampleCard v-if="data" :data="data"></DetailExampleCard>
OK了
6.首页接口就一个搞Pinia存储和已有接口矛盾 真的很烦 应该是执行步骤问题 pinia的方法和首页的请求数据都是异步的 很烦人 我在想应该如何操作比较好 不如直接存储缓存到本地?
暂时想法是这样 在Pinia库中不声明异步方法,声明一个同步的set方法存储数据 在首页请求数据获取数据后就直接调用同步方法 这样就不会矛盾 下周再试试吧……